WordPress
How to Easily Install WordPress in cPanel
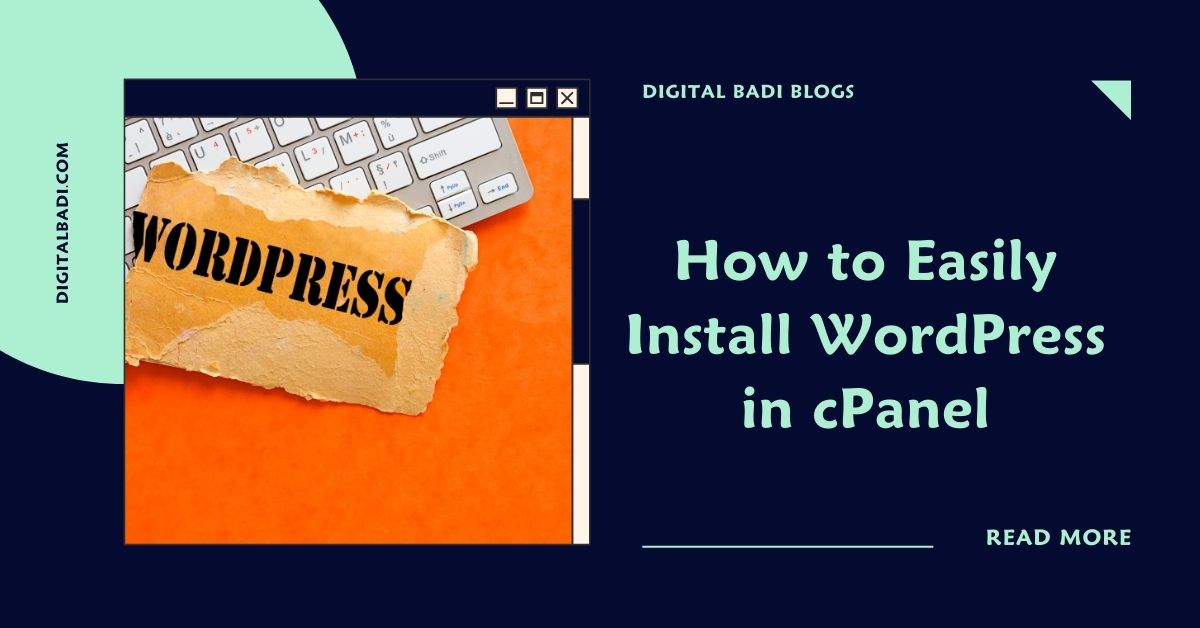
Table of Contents
How to Easily Install WordPress in cPanel
WordPress is the world’s most popular content management system (CMS), powering over 40% of all websites. Its flexibility, customization options, and ease of use make it a go-to choice for creating websites. If you want to build a website using WordPress, one of the first steps is installing it on your web server.
How to Easily Install WordPress in cPanel:One of the most common ways to install WordPress is through cPanel, a web hosting control panel. cPanel provides a simple, fast way to install WordPress with just a few clicks. In this beginner’s guide, I’ll walk through how to install WordPress using cPanel step-by-step.
Benefits of Installing WordPress Through cPanel
Before we dive into the installation process, let’s look at why installing WordPress through cPanel is beneficial:
- Quick and easy – cPanel’s auto-installer gets your WordPress site up and running in just a few minutes with minimal effort.
- Automated setup – The installer handles configuring settings, creating the database, installing WordPress files etc. automatically.
- Better security – cPanel adds security measures like disabling file editing from within WordPress by default.
- Scalability – cPanel works well for setting up WordPress on single sites or multisite networks.
- cPanel’s tools – Manage your WordPress site through cPanel’s dashboard, backups, security scans and more.
- Technical support – Get assistance from your hosting provider’s support team if you encounter any issues.
While advanced users may prefer manual installs, cPanel makes launching WordPress simple even for beginners. Let’s go over how to get started.
Step 1 – Log Into cPanel
First, you’ll need access to cPanel for your hosting account. cPanel usually can be accessed via yourdomain.com/cpanel or yourhost.com:2083. Enter the username and password provided by your hosting provider.
The cPanel interface opens displaying various tools for managing your hosting account. It may seem complex at first, but we only need to use the WordPress auto-installer.
Step 2 – Locate the WordPress Auto-Installer
From cPanel’s homepage, scroll down until you see the “Software/Services” section. Look for the WordPress icon and description, then click on the “Install” button.
Alternatively, click the “Softaculous Apps Installer” icon in cPanel, then choose the “WordPress” option on the next page. Both options will launch the WordPress installer.
Step 3 – Start the Auto-Installer
You should now see the setup screen for automatically installing WordPress through cPanel. Start by entering the following details:
- Domain – Enter the main domain name for your WordPress site (e.g. yoursite.com).
- Directory – The subdirectory to install WordPress in if you don’t want it in the main domain (e.g. yoursite.com/blog).
- Admin Username – Choose the username you’ll use to log into your WordPress admin.
- Admin Password – Create a secure password you’ll remember. You’ll use this WordPress password to log in.
- Admin Email – Your email address associated with the admin account.
Once you’ve filled out these fields, click “Next” to proceed.
Step 4 – Select a Database
On the next screen, you can configure database settings for WordPress:
- Database Name – Enter a name for the database. Usually safe to leave as default.
- Table Prefix – Leave this as default wp_ unless you have special needs.
- Database Username – In most cases, the default username populated will work.
- Database Password – Input your database password if one has been created, otherwise leave blank.
If you’re unsure of any values, your hosting provider can assist. Click “Next”.
Step 5 – Install WordPress
We’re now ready for the WordPress auto-installer to do its magic. Click the “Install” button and cPanel will now automatically:
- Create the database and user account
- Generate wp-config.php file
- Download and extract latest WordPress files
- Create WordPress tables
- Establish file/folder permissions
The installer will run through these steps. All you have to do is wait a few minutes for WordPress core files to get set up.
Step 6 – Finish and Log In
Once WordPress is fully installed, you’ll see a success message. Click the “Login to WordPress Admin” button to visit your new WordPress site’s admin dashboard.
Enter the admin username and password you created earlier. The WordPress backend will open up, allowing you to start configuring settings, creating content, and designing your site!
And that’s it – by following these six simple steps, you can get WordPress installed through cPanel’s auto-installer in a few minutes. Next let’s go over some tips for managing your WordPress site in cPanel.
Handy Tools for Managing Your WordPress Site in cPanel
cPanel provides some handy tools to help you manage and secure your new WordPress site:
cPanel WordPress Manager
The cPanel WordPress Manager plugin gives you quick access to perform many WordPress admin tasks directly from cPanel, like:
- Updating WordPress version
- Managing plugins
- Configuring settings
- Backing up the database
- Managing users
- and more…
Installing this optional plugin eliminates having to log between cPanel and WordPress frequently.
Access WordPress File Manager
Under “Files”, click on “File Manager”. Browse to your site’s folder (usually public_html) to manage WordPress files here instead of using SFTP. Make sure to backup files before modifying.
Setup Automatic WordPress Updates
Under “Software”, choose “WordPress Updates” to enable automatically updating WordPress whenever new versions release. This improves security.
Generate a WordPress Staging Site
cPanel Staging allows creating a duplicate test site to experiment on without affecting your live site. Test design changes, plugins, updates and more in staging first.
Configure WordPress Security
Check cPanel Security for tools like password protection, hotlink protection, IP blacklists and more to lock down WordPress. Also install WordPress security plugins.
Exploring all of cPanel’s WordPress management functionality will help you operate your site more efficiently.
Best Practices for Configuring Your New WordPress Installation
Once WordPress is installed through cPanel, follow these best practices to properly configure and secure it:
- Immediately change the auto-generated password for WordPress admin account. Make it long and complex.
- Install essential WordPress plugins like a security plugin, backup plugin, caching, and SEO. Keep plugins updated.
- Set WordPress permissions to discourage search engines from indexing unnecessary pages like archives.
- Configure WordPress settings under “General” for your correct time zone, date format, etc.
- Remove any sample posts/pages and change the default “Hello World” homepage. Create your own content.
- Review settings under “Permalinks” to have user-friendly URL structures for SEO.
- Under “Users”, remove any unneeded default user accounts like “admin”. Only keep necessary users.
- Back up WordPress site files and database regularly in cPanel or via backup plugin.
Following WordPress best practices from the start makes your site more secure, performant, and easy to manage moving forward.
Troubleshooting Common WordPress in cPanel Installation Issues
If you encounter issues installing WordPress through cPanel, here are solutions to some common problems:
Installation takes long time – This can occur if your hosting server has limited resources. Consider upgrading to a higher performance hosting plan.
Pages don’t load correctly – Double check the directory path where WordPress was installed. It should match what’s defined in your site’s URL.
WP-admin pages won’t open – Try clearing your browser cookies. If that doesn’t work, rename your plugins folder temporarily via cPanel file manager to deactivate plugins causing a conflict.
MySQL database connection error – The database credentials defined during WordPress installation may be incorrect. Double check username, password, and database name entered.
Site fonts/ styling not loading properly – Browser caching can cause this. Try clearing cache and browsing in an incognito window.
You get a white screen when opening your site – This indicates a PHP error. Check cPanel PHP error logs for more details. Increase PHP memory limit if needed.
Hopefully these common troubleshooting tips will help you diagnose and resolve any minor issues that pop up.
Conclusion
Installing WordPress through cPanel provides a quick, hassle-free way to get your WordPress site up and running. Within a few minutes, anyone can onboard to WordPress through the auto-installer.
Just log into cPanel, launch the WordPress installer, input your desired settings, and let the system automatically handle configuring and deploying WordPress. Then access the WordPress admin to start building out your site.
cPanel also includes handy tools to efficiently manage, update, and secure your WordPress site moving forward.
With this beginner’s guide, you now have a solid understanding of how to install WordPress using cPanel. The wide range of functionality WordPress provides makes the CMS a smart, versatile choice for powering all kinds of websites.
So leverage cPanel’s simplified installer to get WordPress running on your hosting. Then start creating great content, customizing your design, configuring plugins, and watch your web presence grow!

Rakesh Bandari is a veteran digital marketer with over 5 years of experience in Digital marketing and now he comes out with the brand “Rakesh Ranks”
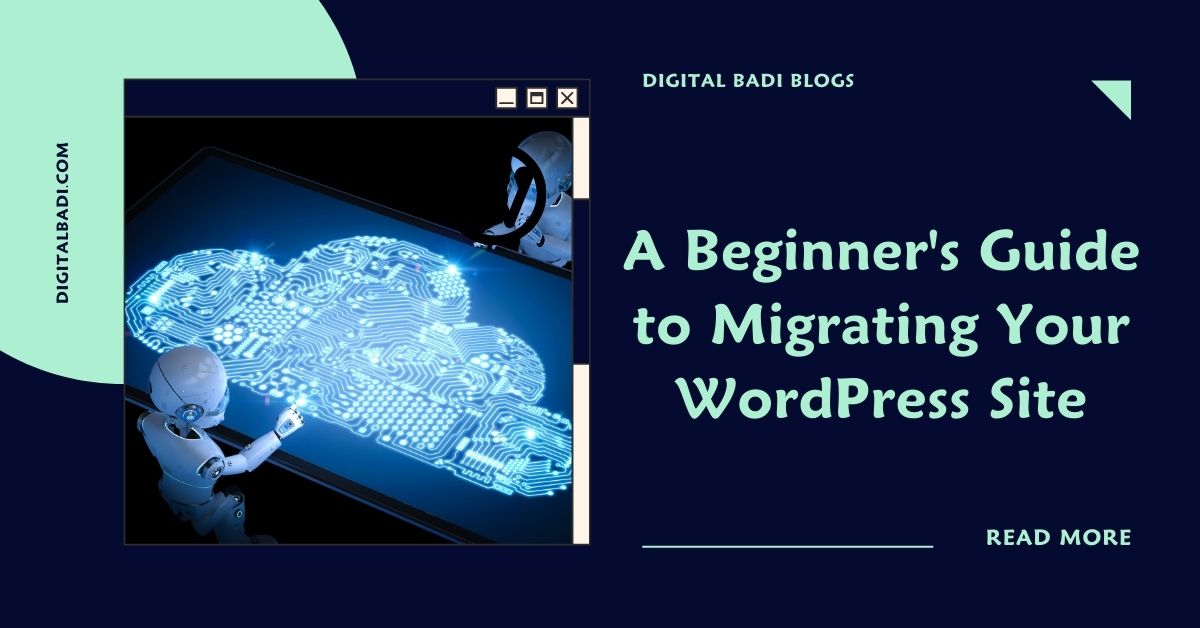
Table of Contents
Beginner’s Guide to Migrating Your WordPress Site
As your WordPress site grows and changes over time, you may need to migrate it to a new host, domain, or platform. Migrating an existing WordPress site requires careful planning and execution to avoid issues.
In this beginner’s guide, we’ll explore key steps for smoothly migrating WordPress covering:
- Why you may need to migrate your site
- Preparing for migration
- Using plugins to assist migration
- Exporting and importing site content
- Redirecting web traffic to the new site
- Handling domain changes
- Avoiding downtime during migration
Let’s look at how to undertake a WordPress migration project to transition your site safely.
Why Migrate Your WordPress Site?
There are several common reasons you may need to migrate a WordPress site:
- Switching web hosts – Moving to a new host with better performance, pricing, or support.
- Upgrading hosting plans – Needing greater resources as your traffic grows.
- Changing domain names – Getting a new domain name for rebranding purposes.
- Enhancing security – Migrating away from a compromised host or insecure platform.
- Seeking new features – Needing certain functionality the current platform can’t provide.
- Adopting multisite – Converting multiple sites into one WordPress multisite network.
- Integrating with other apps – Transitioning to a custom platform with deeper app integration.
While migrations require planning, they can enhance your site if done carefully.
Preparing for a Smooth Migration
Migrating any live site without preparation can lead to errors and extended downtime. Here are key ways to prepare:
- Audit site content – Document all visible pages, posts, media, themes, plugins etc. so you know what needs migration.
- Gather logins – Compile admin logins for hosts, domains, analytics, and all connected services.
- Backup everything – Backup your WordPress database, themes/plugins folder, and other files in case you need to revert back.
- Choose a domain strategy – Will you keep the same domain or migrate to a new one? This impacts DNS changes needed.
- Select a migration plugin – Test plugins like Duplicator or All-in-One WP Migration to automate migration.
- Create a dev/staging environment – Set up a development site to test the migration process before going live.
Thorough planning and testing minimizes chances of issues and downtown when migrating your production site.
Using Plugins to Assist Migration
Dedicated WordPress migration plugins help automate parts of the migration process including:
Database Exporting/Importing
Plugins like WP Migrate DB Pro handle exporting your WordPress database from the current host and importing into the new database. Ensures all site content transfers.
Site Duplication
All-in-One WP Migration and Duplicator create compressed packages of your entire WordPress install for uploading to new hosts to recreate the site.
Find and Replace
Search and replace plugins like Better Search Replace can update URLs throughout database content during migration automatically.
Redirection
Redirection plugins will forward traffic from your old URLs to your new URLs once migration is complete. Important for SEO.
These plugins speed up tasks that would be extremely tedious to handle manually. Be sure to test them thoroughly first.
Exporting and Importing Content
A key step is transferring your actual site content including:
- Export WordPress database – Your posts, pages, settings, etc. exist in the MySQL database which needs exporting from old host and importing to new database.
- Copy WordPress files – Download the wp-content and any other WordPress folders via FTP and copy to new host. Alternatively, use a duplication plugin.
- Transfer media – Download all media files from old host using FTP and upload to new host’s media folders.
- Export child themes – Any custom child themes will need recreation on new host. Bring over key customization files.
Migrating the database, theme files, and media replicates your site with minimal loss.
Managing Domains and URLs
Domain and URL changes for migrations may involve:
- Update site/WordPress URLs – Use Better Search Replace to change all site URLs across the database if changing domains.
- Redirect old domain – Set up a redirect pointing your old domain or URL to the new one so traffic finds your migrated site.
- Change DNS records – If switching domains, update DNS records to point to new host’s server IP addresses.
- Enable HTTPS – Obtain an SSL certificate for the new domain to maintain HTTPS access if needed.
Proper domain/URL management ensures visitors are directed to the migrated site properly.
Avoiding Downtime During Migration
Since migration requires taking your site offline briefly, it’s ideal to:
- Do initial migration steps well in advance.
- Perform final transition during low traffic hours when possible.
- Keep a maintenance mode page up during migration to notify visitors.
- Migrate test/staging sites first before going live.
- Use a CDN to cache site content and minimize disruption.
- Enable redirects immediately so search engines find the migrated site.
With planning, you can migrate WordPress with minimal disruption to visitors.
Conclusion
While WordPress makes launching sites easy, migrating existing sites takes more effort. Following a structured process that utilizes helpful plugins minimizes chances for errors and downtime.
Thoroughly plan out details like hosting, domains, content transfer, redirects, and testing. Leverage tools that automate migration tasks like search and replace, database exports, and site duplication.
With care and patience, you can undertake a WordPress migration that enhances your site without disrupting business. Users will enjoy the improvements on the new platform.
Just be sure to backup everything and test extensively first. Advanced planning separates smooth migrations from chaotic ones. Your users will thank you for the extra diligence!
Migrating WordPress sites may seem daunting but is very doable. Take it slow, use tools to assist, and soon you’ll have an improved site up and running.
Rakesh Bandari is a veteran digital marketer with over 5 years of experience in Digital marketing and now he comes out with the brand “Rakesh Ranks”
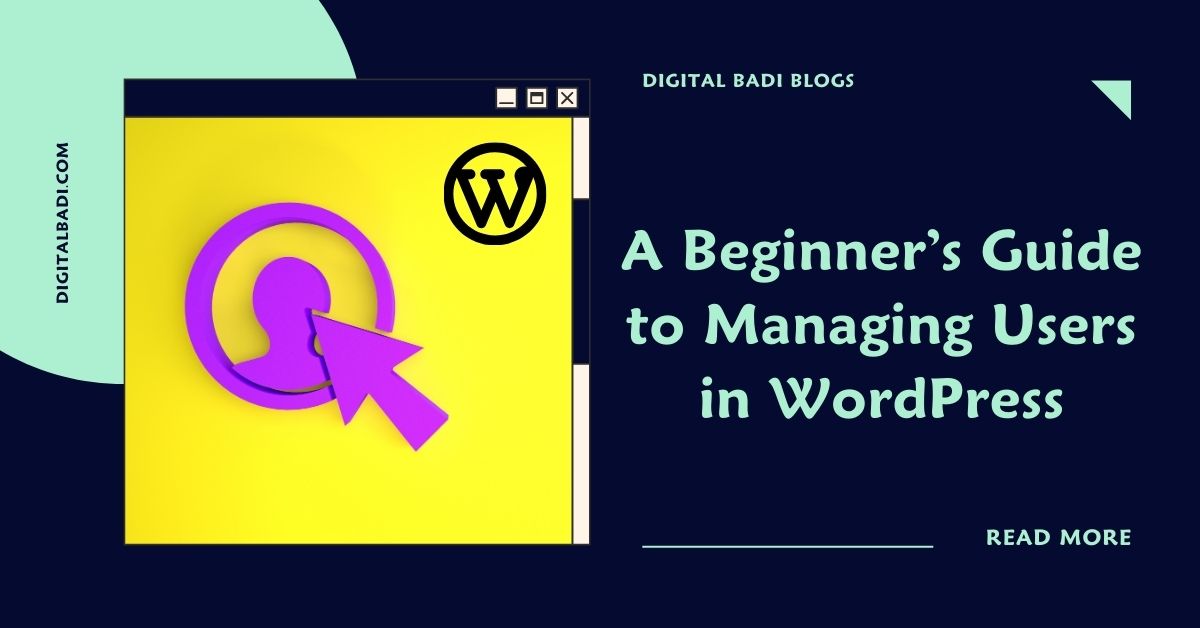
Table of Contents
Managing Users in WordPress
One of the key advantages of using WordPress for your website or application is its built-in user management capabilities. Handling user accounts, roles, permissions, and profiles are essential for many sites.
Managing Users in WordPress:- You can assign roles, which was designed to give the site owner the ability to control what users can and cannot do within the site. There are different roles to explore, and each role is allowed to perform a set of tasks.
Whether you want to enable user logins for membership sites, allow staff authors to publish content, or secure admin access, WordPress provides the core user tools you need.
In this beginner’s guide, we’ll explore WordPress user management covering:
- The different default user roles and permissions
- How to add/remove/edit user accounts
- Setting user capabilities and restrictions
- Plugins for advanced user functionality
- Securing user data and passwords
- Customizing user profiles and dashboard
Let’s see how WordPress empowers you to easily handle users without coding expertise.
Understanding WordPress User Roles
WordPress includes predefined user roles that each come with certain permissions and capabilities. The main default roles are:
- Super Admin – Top-level administrative access to the network in multisite installs. Full capabilities for all sites.
- Administrator – Total access and control of the site, including deleting/managing all content, users, settings etc.
- Editor – Can publish, manage, and edit all content but not manage users or site-wide settings.
- Author – Basic users who can submit and edit their own posts but not publish posts from others.
- Contributor – Submit and edit their own posts but cannot publish them. Posts require review first.
- Subscriber – Basic access mainly to leave comments. Cannot submit content. Role for general site members.
Understanding these common WordPress user roles helps assign appropriate permissions. Roles are covered more below.
Adding and Managing User Accounts
You manage all user accounts from the Users menu in the WordPress dashboard. Here you can:
- Add new users by entering their email, username, password etc.
- Search/browse existing users
- Edit user details by clicking on a username
- Delete users completely
- View and modify role assignments
Bulk actions allow managing multiple users at once like resetting passwords or deleting accounts.
Segmentation with user roles prevents conflicts – authors can’t overwrite published content for example. Restrict contributors to only submitting drafts for review before publishing.
Configuring User Roles and Permissions
Beyond the main default user roles, you can customize user capabilities and permissions even further:
- Use plugins like User Role Editor to configure advanced role definitions not possible in core WordPress.
- Change permissions of existing roles at Users > Roles like limiting image uploading for certain users.
- Remove default roles like Author or Contributor if not needed. Keep roles minimal.
- Create customized roles for niche access levels using role management plugins.
- Allow only approved users to register rather than open registration if needed.
Fine-tuning roles to match your site’s user structure results in better security and user experience. Don’t overwhelm users with unnecessary permissions.
Extending User Functionality With Plugins
WordPress user management basics enable covering many common user scenarios. But for advanced needs, user-related plugins extend possibilities like:
- Membership plugins for subscription access sites like MemberPress and PaidMemberships Pro.
- Custom registration/login forms to match site design rather than generic WordPress forms.
- Social login plugins so users can register/login via Google, Facebook etc.
- Multi-factor authentication plugins for extra login security.
- User tracking tools to monitor activity and behavior.
- Private messaging plugins for user-to-user communication.
The WordPress plugin ecosystem provides specialized user functionality for sites requiring advanced membership management, social features, ecommerce, and more.
Securing User Data and Passwords
When managing users, ensuring security is critical. Some tips:
- Require strong passwords – enforce minimum length and complexity.
- Use two-factor authentication methods like security keys or one-time access codes.
- Install a security plugin like Wordfence to block suspicious activity.
- Limit login attempts to deter brute force attacks.
- Use HTTPS and SSL certificates to encrypt transmitted user data.
- Only collect necessary user information and safely store it.
With security measures in place, users can have peace of mind that their account and personal details remain protected.
Customizing User Profiles and Dashboard
Tailoring the user experience is also key. Options for this include:
- Modify user dashboard design using hooks or a plugin like Ultimate Dashboard.
- Add custom profile fields so users can share extra info publicly or privately.
- Use plugins to provide user avatars and badges/ranks for engagement.
- Create customized templates for user directory listings.
- Allow users to manage notifications and email preferences.
- Provide easy password reset and account management self-service flows.
A refined user experience encourages engagement, satisfaction, and retention over time.
Conclusion
Managing users is essential for many WordPress sites like membership portals, news outlets with multiple authors, and ecommerce stores.
Luckily, WordPress provides intuitive core user tools covering user account administration, predefined roles, permissions customization, and data security fundamentals.
For advanced user functionality, take advantage of membership, social login, messaging, and other specialized plugins available.
By leveraging these WordPress user management features, you can create tailored user experiences that securely serve your site’s needs and scale as you grow. Restrict access where required while enabling users productively through their dashboard.
The possibilities are vast. With some thoughtful user management and the help of plugins, WordPress can handle everything from a simple blog to a sophisticated user community.
Rakesh Bandari is a veteran digital marketer with over 5 years of experience in Digital marketing and now he comes out with the brand “Rakesh Ranks”
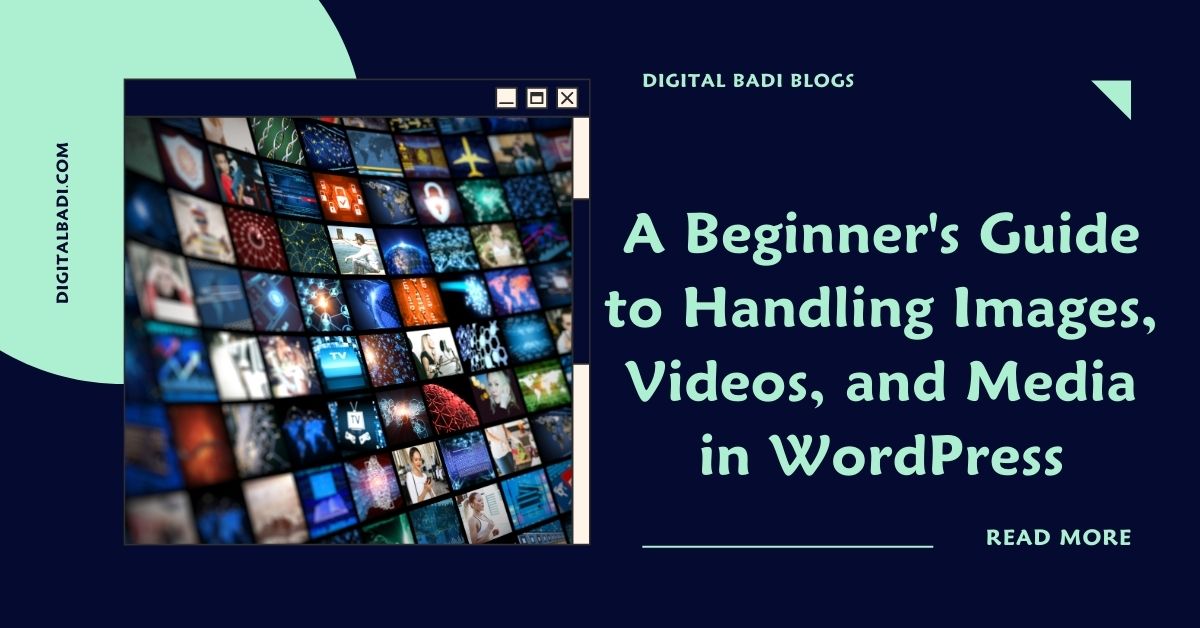
Table of Contents
Beginner’s Guide to Handling Images,Videos,and Media in WordPress
An effective website involves more than just text content. Images, videos, audio clips, PDF documents, and other media elements help create engaging pages that visitors love.
WordPress makes it easy to add diverse media when creating posts and pages. But organizing, managing, and optimizing all the media across your site requires some knowledge.
In this beginner’s guide, we’ll explore how WordPress supports media through:
- Uploading media into the library
- Inserting media into content
- Media management tools and optimization
- Creating image galleries and sliders
- Videos, audio, and other media support
- Handy media plugins
Let’s look at how WordPress empowers you to make media a valuable part of your site without complexity.
Uploading Media to the Library
The first step in adding visual and audiovisual elements is uploading the media files to your WordPress site. The media library serves as a central repository for all media.
To upload media:
- Navigate to Media > Add New in your WordPress dashboard.
- Drag and drop files from your computer into the uploader window or click to select them.
- Once uploaded, media files appear in the media library for easy discovery and reuse.
Supported file types include common formats like JPG, PNG, GIF, MP4, MOV, MP3, PDF, and more. The uploader makes adding any media you create or capture easy.
Inserting Media Into Your Content
Once uploaded into the media library, adding media into your pages, posts, and custom post types is simple.
When editing a post, click the Add Media button. Select a file from the media library popup to embed it.
You can insert media:
- As inline image or video in a content block
- In an image gallery or playlist block
- As a featured image highlighted at the top
- In a sidebar or text widget
- As a header or background image through custom CSS
Drag and drop reordering changes the sequence. The text editor makes inserting any media into content intuitive.
Organizing Your Media Library
As your media library grows, keeping it organized is key for efficiency. Helpful ways to manage media include:
- Using categories – Assign media files to different categories like Logos, Product Photos, Staff Headshots, etc. to group similar items.
- Adding descriptions – Enter a description summarizing the media like “John Doe employee headshot” for quicker searching.
- Deleting unused media – Delete any unused media periodically to keep the library clean and avoid clutter.
- Renaming files – Give media filenames that summarize contents rather than default names from cameras.
- Choosing thumbnail sizes – Select image thumbnail size under Media Settings matching your intended use like large or thumbnail.
Taking time to apply these organization tips will help you locate and reuse media assets faster.
Media Optimization
Optimizing media ensures it loads quickly and serves users well. Key optimization tips:
- Compress oversized images – Use tools like Compressor.io to reduce image file sizes without noticeably impacting quality.
- Lazy load images/videos – Load media only when scrolled into view with plugins like BJ Lazy Load.
- Downsize thumbnail dimensions – Set thumbnail widths/heights to values appropriate for your site design (ex: 250x200px)
- Use auto formatting – Check “Remove EXIF Thumbnail Data” under Media Settings to strip unnecessary metadata.
- Add ALT text – Provide descriptive ALT text for accessibility and SEO.
Optimized media doesn’t bog down site loading times while improving user experience.
Building Image Galleries
WordPress makes creating engaging image galleries easy through:
- Gallery block – Select multiple images when editing a post and choose Gallery from the block inserter to automatically create a gallery. Customize layout, captions etc.
- Media library galleries tab – Generates instant galleries from selected media library images. Customize and embed into posts.
- ** Gallery plugins** – Options like Envira, Modula and FooGallery add gallery creation tools directly in the editor. More custom layouts and functionality.
Image galleries allow showcasing products, portfolio projects, event photos, and other collections in style!
Embedding Video and Audio Content
WordPress supports embedding common video and audio formats like YouTube, TikTok, Spotify, Podcasts, and more by copying and pasting their embed code or URLs directly into the editor.
Key benefits of embedded media:
- Video platforms handle hosting and serving the files.
- Content remains visible to search engines unlike attached media.
- Formats like YouTube are mobile responsive.
- Options to autoplay media, show related content, etc.
For audio, podcast platforms like Buzzsprout provide embed codes to easily add podcasts to posts and pages.
Even More Media Possibilities!
In addition to the basics we’ve covered, there are plugins providing advanced media features like:
- Slideshow/carousel plugins – Add eye-catching responsive slideshows and carousels for image/video galleries.
- PDF plugins – Embed PDFs directly into pages, create download links, etc.
- Lightbox plugins – Display enlarged media in pop-up lightboxes when clicked.
- Watermarking plugins – Automatically add watermarks like your logo to every image.
- GIF support – Animate posts and pages by inserting animated GIFs.
WordPress empowers you to incorporate all kinds of media into your content without hassle!
Conclusion
Media elements are critical for engaging websites, and WordPress provides user-friendly tools for managing everything from images to videos seamlessly.
Easily upload media to the central library, insert into posts and pages, organize and optimize assets, create galleries and playlists, embed audio and video, and extend functionality through plugins.
Rather than struggling with cumbersome attachments or external media platforms, let WordPress handle the heavy lifting so you can focus on creating compelling websites enhanced by media.
The next time you want to illustrate a blog post with photos or share an exciting video highlight, leverage the media power built into WordPress. Your multimedia site awaits!
Rakesh Bandari is a veteran digital marketer with over 5 years of experience in Digital marketing and now he comes out with the brand “Rakesh Ranks”

A Beginner’s Guide to Migrating Your WordPress Site
Beginner’s Guide to Migrating Your WordPress Site As your WordPress site grows and changes over time, you may need to...

A Beginner’s Guide to Managing Users in WordPress
Managing Users in WordPress One of the key advantages of using WordPress for your website or application is its built-in...


A Beginner’s Guide to Handling Images, Videos, and Media in WordPress
Beginner’s Guide to Handling Images,Videos,and Media in WordPress An effective website involves more than just text content. Images, videos, audio...

How to Create an Awesome Blog with WordPress
How to Create an Awesome Blog with WordPress Starting an engaging blog that attracts readers can be challenging. Choosing the...

Building Stunning Websites the Easy Way with WordPress
Building Stunning Websites the Easy Way with WordPress Creating a professional website used to require an understanding of complex web...

Unlocking the Power of WordPress with Plugins
Power of WordPress with Plugins One of the key advantages that makes WordPress the world’s most popular website builder is...


Installing and Customizing WordPress Themes Visually with Page Builders
Installing and Customizing WordPress Themes Visually with Page Builders One of the best parts of using WordPress is the ability...

How to Easily Install WordPress in cPanel
How to Easily Install WordPress in cPanel WordPress is the world’s most popular content management system (CMS), powering over 40%...


What is WordPress? A Beginner’s Guide to Understanding the Popular CMS
What is WordPress? A Beginner’s Guide to Understanding the Popular CMS If you spend any time browsing websites, there’s a...


Job Opportunities for WordPress Developers
Job Opportunities for WordPress Developers Landing Your Dream Job as a WordPress Developer If you have web development skills and...
-

 Digital Marketing2 years ago
Traditional Marketing vs Digital Marketing
-

 Telugu Blogs2 years ago
డిజిటల్ మార్కెటర్ కి ఉండాల్సిన స్కిల్స్ ఏంటి?
-
 Telugu Blogs2 years ago
డిజిటల్ మార్కెటింగ్ నేర్చుకోవడం ఎలా ?
-

 Graphic Designing2 years ago
Career Opportunities in Graphic Designing
-
 Digital Marketing2 years ago
Story of Rakesh Bandari (Rakesh Ranks)
-
 Telugu Blogs2 years ago
ప్రీలాన్సింగ్ ద్వారా ఆన్లైన్లో డబ్బులు సంపాదించడం ఎలా?
-

 Digital Marketing2 years ago
Search Engine History
-

 Video Editing2 years ago
Career Opportunities in Video Editing